Snow and ice look beautiful on roofs, but only until they start damaging them. It can quietly wreak havoc on your roof by causing leaks, ice dams, and even structural damage. When melting snow refreezes at your roof’s edge, it can trap water under shingles and lead to costly repairs. What’s worse is that these issues often creep in slowly, showing no clear signs until the damage is already done.
Knowing what to do in the first 24–48 hours after a snowstorm is hence important to prevent water intrusion or compromised roof stability. But what winter roof maintenance actions can you take? Well, that’s all we are going to discuss in this blog!
What To Do After A Snowstorm?
Here are the top winter roof tips every homeowner should follow to protect their roof and prevent costly damage after heavy snowfall.
Safely Pull Snow Off Your Roof With A Roof Rake
After a snowstorm, it’s important to remove the heavy snow buildup from your roof to prevent structural stress, leaks, and ice dams. You don’t need to climb on your roof, in fact, you shouldn’t. Instead, use a roof rake with an extended telescoping handle (preferably one with a non-damaging plastic blade or a roller to avoid scraping shingles).
Start from the edge of your roof and gently pull the snow down in layers. Don’t try to remove all the snow, just the top few inches to relieve the weight. Focus on clearing at least 3-4 feet above your eaves. Regular snow removal is one of the key steps in effective winter roof maintenance.
Ice Dams And Icicles Can Sneak Up—Take A Look
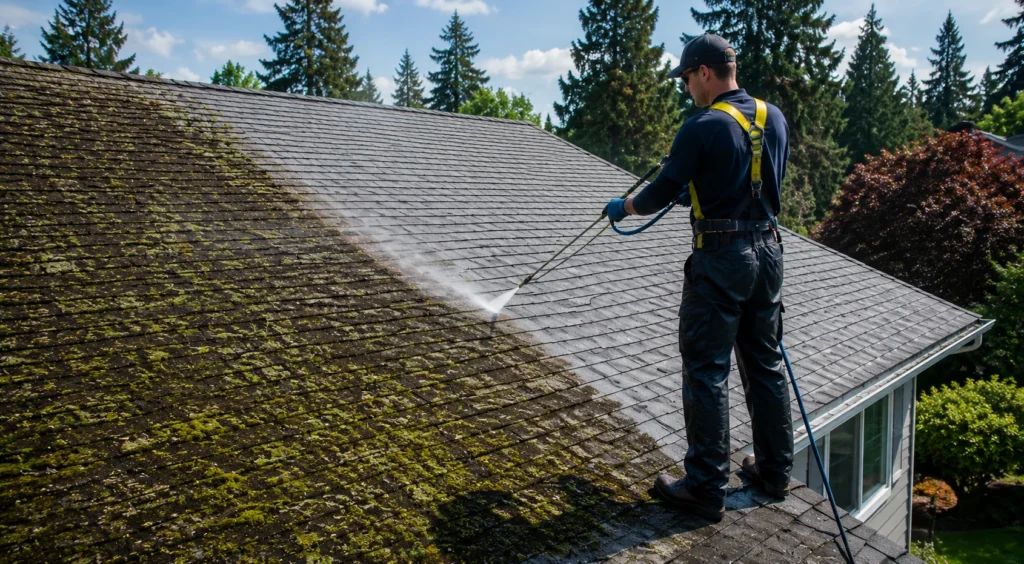
Ice dams form when heat from inside your home melts snow on the roof, which then refreezes at the edges, preventing proper drainage. This can lead to water backing up under shingles and causing leaks. After a storm, check along the roof edges and eaves for thick ridges of ice. Use calcium chloride ice melt (not rock salt) inside a sock or pantyhose and lay it vertically across the dam to melt channels for water to flow. Do not try to chip the ice away, it can damage your shingles. Icicles should be gently knocked down with a broom or roof rake handle to avoid injuries or damage when they fall.
Wet Ceiling Or Attic? Handle It Before It Spreads
After clearing snow from your roof, go indoors and check both your attic and ceilings for signs of water intrusion. Use a flashlight to look for stains, frost, or damp insulation on the underside of the roof decking. If insulation feels wet, remove it and let it dry completely before reuse.
Winter roof maintenance isn’t just about the exterior, checking your attic regularly is essential to catch leaks early. Moisture buildup can lead to mold and mildew, so act quickly, set up a portable fan for airflow and place moisture absorbers like silica gel or desiccant tubs in the space.
Unclog Gutters And Downspouts To Keep Water Flowing
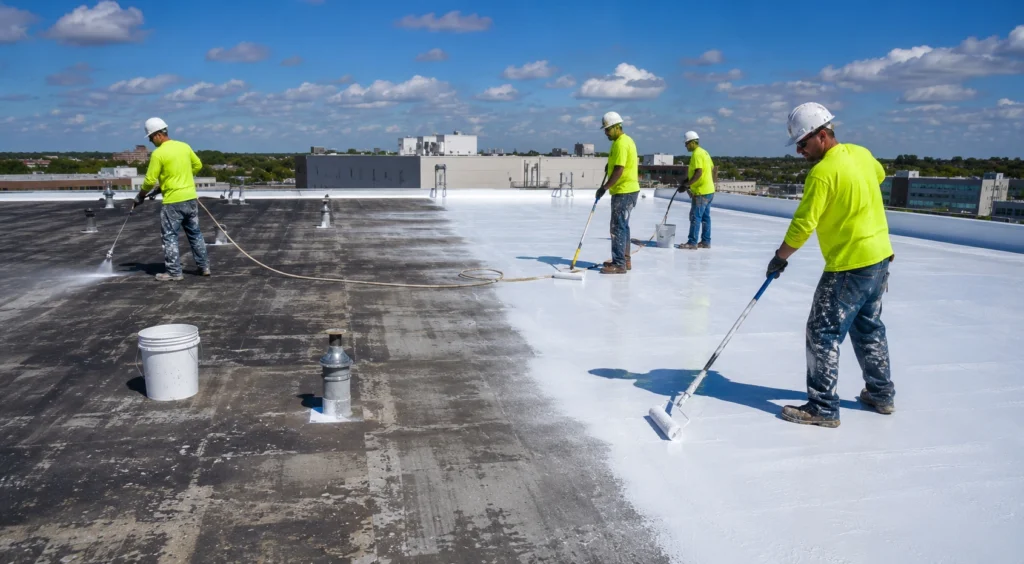
Blocked gutters can lead to water overflow and ice buildup, which can damage your roof, fascia, and siding. Use a gutter scoop or small plastic trowel to remove packed snow or debris from the gutters. For downspouts, ensure they’re not frozen—if they are, pour warm (not boiling) water into them to slowly melt the blockage. Make sure downspouts are directing water at least 3–4 feet away from your home’s foundation to prevent basement leaks or structural damage. Clean gutters play a pivotal role in smart winter roof maintenance by ensuring proper drainage and preventing ice buildup.
Heavy Snow On Branches? Time For A Quick Trim
Another winter roof tip is to keep surrounding trees in check. Branches that hang over your roof can become dangerously heavy after a snowstorm. If they break, they can puncture your roof or knock off shingles. Visually inspect any nearby trees for limbs sagging under snow weight or appearing cracked.
If they’re within reach from the ground, use a manual pole saw or pruning shears with a long handle to remove them carefully. Always cut branches in small sections to maintain control and prevent injury. Don’t stand on icy surfaces or use ladders when handling tools—stay grounded and safe.
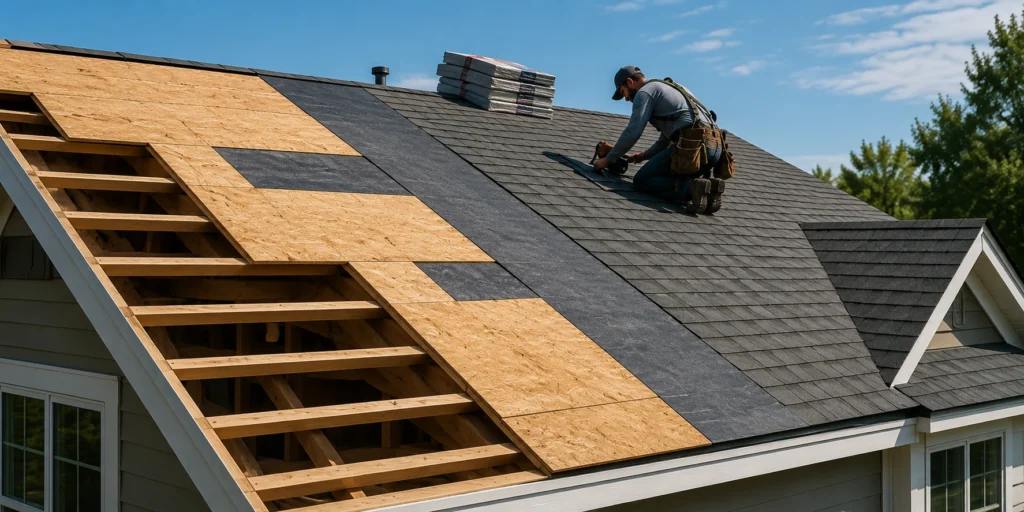
Fix Loose Or Damaged Shingles And Flashing
Once the snow has eased up, inspect your roof from the ground using binoculars or your phone’s zoom camera. Look for lifted, cracked, or missing shingles. If you spot any issues, you can take immediate action to prevent further damage.
- If you notice lifted/ cracked shingles, carefully secure them with roofing adhesive or roofing cement to prevent wind from lifting them further until you can replace them.
- For missing shingles, place a temporary tarp or a weatherproof plastic sheet over the exposed area to prevent water from seeping underneath and causing leaks inside your home.
- For damaged flashing, apply roofing sealant around the edges of the flashing where you see gaps, but avoid using too much, as it may cause future complications. If there are any loose pieces of flashing, you can temporarily secure them with roofing screws to keep them in place until you can make a more permanent fix.
Spotting exterior wear early lets you plan roof repairs before they lead to bigger interior problems.
Schedule A Professional Roof Inspection
While DIY maintenance is beneficial, it’s crucial to remember the importance of regular roof inspections. Once the weather clears—especially if you notice leaks, ice dam damage, or shingle problems- call an expert from TridentPro Construction. We can identify hidden issues that aren’t visible from the ground or attic.
With years of hands-on experience and a team of skilled professionals, we deliver top-tier services such as roof inspections, residential roof repairs, new roof installations, storm damage restoration, and even roof demolition when needed. Try to schedule it soon after your DIY winter roof maintenance so any issues can be addressed before the next storm hits.